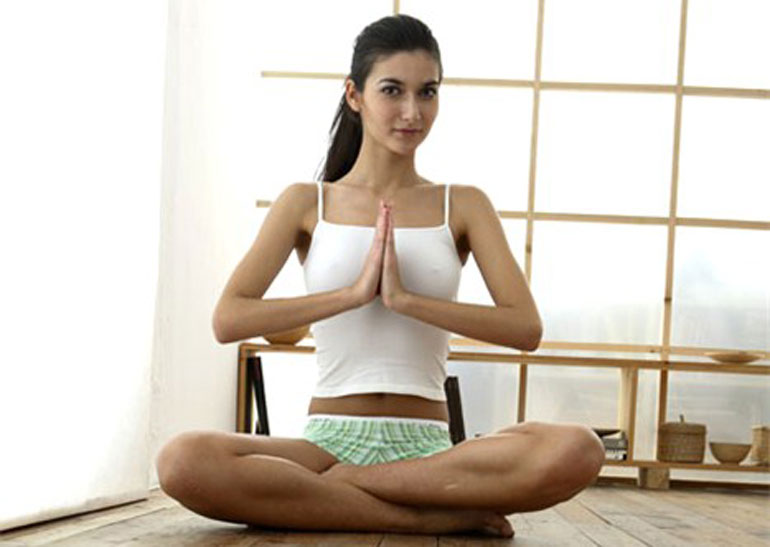
The Padmasana is very apt to do the breathing exercises.
Don’t we breathe daily? But, how many times do we try to take over the breathing process. Yoga helps you to be the master of your entire breathing mechanism. You’ll also be able to stop breathing for a few moments. Moreover, these breathing exercises will also enable you to hold on to your breath (after controlled inhalation) and also remain without breath (after exhalation). The best posture to do the Pranayama exercises is the Padmasana.
The following breathing exercise will purge your lungs of the toxic materials. The coordinated controlled breathing will also ensure better blood circulation.
The Three Pranayama Types
The breathing controlling exercises are divided into three stages.
The first stage is that of normal breathing.
The second stage involves deep breathing and a series of inhalation and exhalation through the pouted mouth. This controlled inhalation and exhalation combined with the breath retention process is called Ujjayi Pranayama.
Advantages: Ujjayi Pranayama checks ailments of the throat, nose and ear. Regular practice of Ujjayi Pranayama clears the nasal passages. As a result, phlegm is removed from the throat. Our blood assimilates large quantities of blood. The capacity of the lungs is increased; hence the breath attains its natural rhythm.
The third stage is a series of six steps of definite controlled breathing exercises through the nostrils, one at a time. This stage involves the closing of the glottis or the epiglottis. The epiglottis is a thin leaf-like lamella of elastic fibro-cartilage. The epiglottis projects obliquely upwards. It is located at the root of the tongue and the body of the thyoid bone. It remains in front of the entrance of the larynx and between the free margins of the vocal cords.
This alternate nostril breathing is known as Anuloma Viloma. During this Pranayama (inhalation and exhalation) stage, we should not produce any sound. Moreover, we must take twice as long to exhale as to inhale.
The combination of Kapala Bhati and Ujjayi is known as Bhastrika or the ‘Bellows Breath’ process.
Advantages: Bhastrika expands the ribcage. The air filling the lungs ventilates them completely. Adequate quantities of oxygenated blood are absorbed by the nerve roots in the spinal regions as well as the brain.
The First Pranayama Stage
- Assume the Padmasana meditative stage.
- After opening the eyes, place your palms upside down on the respective knees.
- Place the thumbs on the third line of the index fingers. Obviously, the index fingers and the thumbs will remain bent towards each other.
- The other three fingers (middle, ring and little) will remain open and straight.
- Close your eyes and mould your mind to start the breathing exercise.
- Stay in this position for about five seconds. Continue the normal breathing for approximately five seconds.
- Get ready for the second breathing stage after an exhalation stage.
The Second Pranayama Stage
- Slowly take a deep breath. Try to complete the inhalation process in not less than 10 seconds.
- Ensure that you are thinking positive and believing that all your ailments are getting cured through the oxygenated air you are breathing in.
- Hold on to the breath for about five seconds.
- Pout your lips and then open them in an ‘O’ fashion.
- Exhale through the lips. Complete the process in about 15 seconds.
- Don’t inhale immediately. Wait without inhaling for two-three seconds.
- Then again inhale slowly and deeply as mentioned above.
- You can repeat the process three-five times. This forms a cycle.
- After completing the cycle (according to your convenience), relax!
- Continue normal breathing for about five seconds and prepare for the next breathing exercise
The Final Pranayama Stage
Don’t alter the Padmasana posture or the positions of the index fingers and the thumbs as well as the other fingers.
The Mudra
Keeping the right arms in the same position, arrange the fingers of the left hand in the following manner which is called a ‘Mudra’.
Bend the index and middle fingers to touch the raised fleshy mound just below the thumb.
The middle portion of your thumb will be touching the middle side of the bent index finger.
The ring and small fingers will remain straight. The ring finger will be in close alignment with the bent middle finger. You’ll have to keep your fingers in this fashion till you complete the cycle of three-five times.
Commencing the Third Breathing Stage
- After an exhalation stage, bend your right elbow to your nose.
- Press the side of your right nostril and block it with your thumb.
- Slowly and deeply inhale through the right nostril. Complete the process in about 10 seconds.
- Without breaking the mudra, use the joint ring and small fingers to press the side of the right nostril in order to close it. Hold on to the breath for about five seconds.
- This is that crucial phase when you must think positive and believe that you have within yourself the power to cure all your ailments using the fresh oxygenated air you have just breathed in.
- Hold on to the breath for about five seconds.
- Now lift your right thumb from the right nostril to slowly exhale in about 15 seconds.
- After completing the exhalation, stay put without inhaling for about five seconds.
- Then slowly and deeply breathe in. The inhalation process has to be completed in approximately 10 seconds. This is one stage of a cycle.
- Within the cycle, you can include six such stages.
- The cycle will conclude in an exhalation stage. After that you can resume the normal breathing.
1 comment
This is the best exercise of yoga and with this you can get rid of many diseases